|
|
 |
|
 |
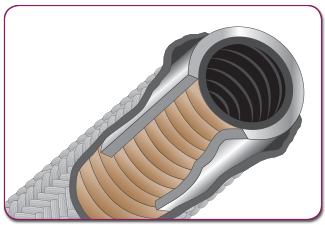
| Metal Braid: |
|
Non-Metallic Braid: |
|
|
| To minimize braid flare, wrap the area of the hose to be cut with masking tape. Cut the hose with a suitable cut off wheel or fine toothed hack saw blade and then remove the tape. |
|
Wrap with Scotch Magic Tape 810 on area to be cut. Cut the hose with a sharp knife then carefully remove the tape. |
|
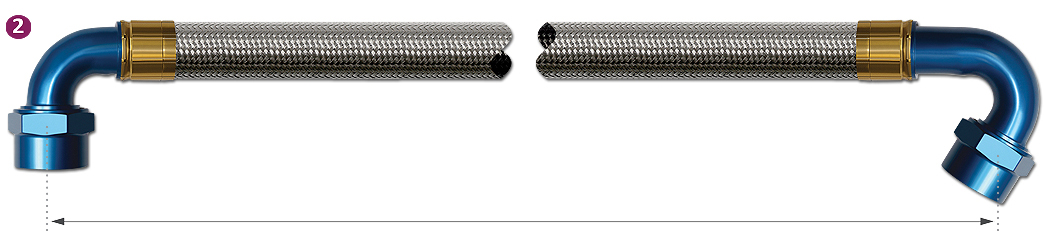
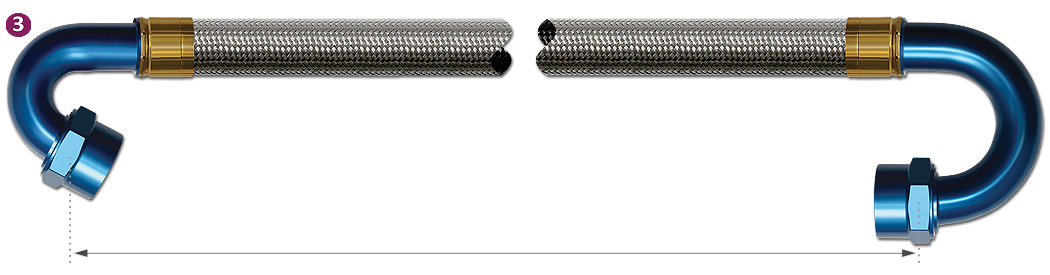
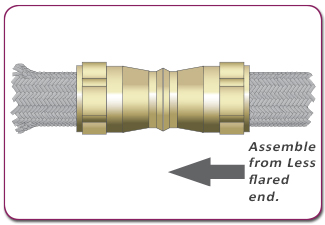
Braid tends to flare more at one end than the other. Assemble both sockets back to back from the less flared end. |
 |
|
 |
|
 |
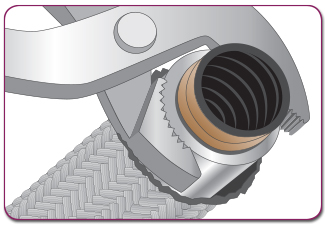
| Screw the olive onto the hose until the hose protrudes through. Don't cross thread or force the olive. Make sure the braid goes over the olive. |
|
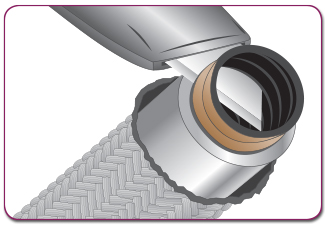
Trim the hose back to be flush or a maximum of
1mm proud of the olive. |
|
Ensure the hose is cut cleanly and square. |
 |
|
 |
|
 |
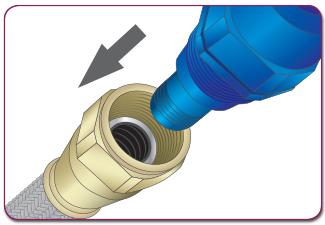
| Pull the sockets up over the olives. Lubricate the fitting thread with a light oil. Insert the tail into the hose. Engage the fitting and socket threads. Screw together as far as possible by hand. |
|
Lightly grip the socket in a set of vice jaws and fully tighten the fitting. |
|
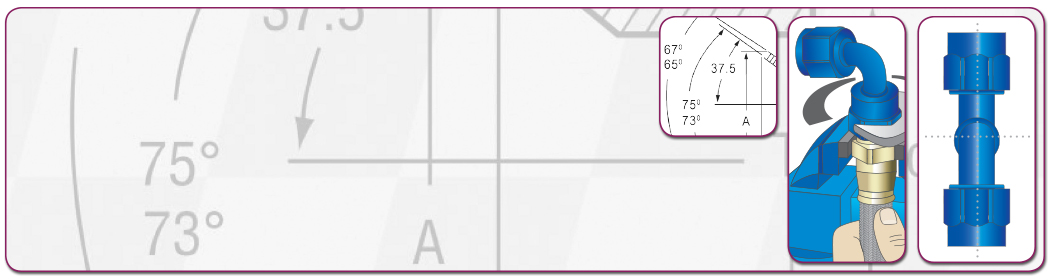
Metallic Braid:
Socket should be no more than 1mm away from the fitting face.
Non-Metallic Braid:
Socket should be touching the fitting face. |
| |
| FINAL STEP: Clean the assembly fittings and proof pressure test the assembly to 1-1/2 times the system working pressure. |
| |
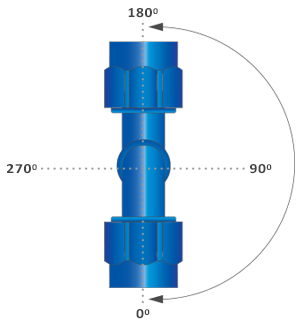
| NOTE: NEVER loosen fittings once assembled to achieve the desired orientation. ALWAYS use new olive when reusing an end fitting. |
| IF IN DOUBT contact with BMRS. |